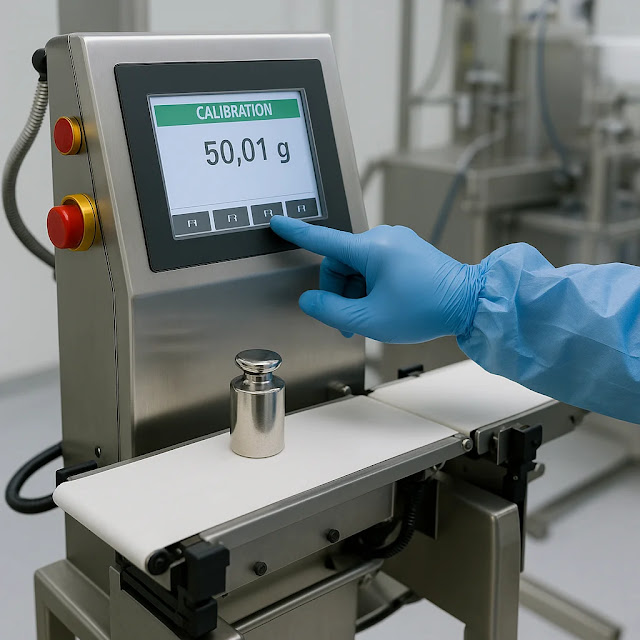
In this post Standard Operating Procedure of Calibration of Checkweigher in pharmaceuticals is describe.
1.0 OBJECTIVE:
To lay down a procedure for Calibration of Checkweigher (Model:MT-S), Make: Mettler Toledo)
2.0 SCOPE:
This procedure is applicable for Calibration of Checkweigher (Model: MT-S),
Make: Mettler Toledo) in production department.
3.0 RESPONSIBILITY
Technical Associate: Operation and cleaning. Officer/ Executive Production: Supervision
PQA: Verification.
Head Production: SOP Compliance
4.0 DEFINITION (S):
NA
5.0 PROCEDURE:
5.1 Caution
5.1.1 Ensure that the Checkweigher is free from dust.
5.1.2 Ensure that Checkweigher is installed on firm support.
5.1.3 Ensure that Checkweigher platform is not touching to any surface.
5.1.4 Do not keep the Checkweigher platform loaded in the “OFF” condition.
5.1.5 Check for the proper earthing of the Checkweigher wherever available.
5.1.6 Avoid impact/mechanical shocks to the Checkweigher.
5.2 Zero Error Checking
5.2.1 Check for the “ZERO” display and record the same in respective annexure.
5.2.2 If there is error in ‘ZERO’ display, it may be due to the following:
5.2.2.1 The checkweigher is not in level.
5.2.2.2 The mechanical or electrical defect.
5.2.2.3 The platform is not cleaned.
5.2.2.4 Some extraneous matter hampering the smooth operation of the platform.
5.2.3 Put ‘ON’ the checkweigher.
5.2.4 If spirit level is not in order correct it by adjusting the base-mounting pad. Note: Zero
error of the checkweigher must be checked before use to avoid erroneous weights.
5.2.5 Frequency:
(a) Daily in morning.
(b) After any maintenance.
(c) After resuming of the power.
(d) Relocation of Checkweigher.
5.3 CALIBRATION:
5.3.1 Daily Calibration
5.3.1.1 Check the cleanliness of the checkweigher.
5.3.1.2 Put ‘ON’ the checkweigher and wait till it displays 0.0 g.
5.3.1.3 Check Zero error as per step 5.2.
5.3.1.4 Get the fractional weight box and ensure that the standard weights are duly calibrated.
5.3.1.5 Calibrate the checkweigher with 1% and 50% of its total capacity (600g). and record the
same in the respective Annexure-I.
5.3.1.6 Place the weights of 6 g in the center of the checkweigher platform.
5.3.1.7 Screen display shows the weight placed on plate form.
5.3.1.8 Record the same in its respective daily calibration Annexure-I.
5.3.1.9 Then repeat the same procedure for 300 g weight refer to point no. 5.3.16 to 53.1.8 and
record the same in Annexure-I.
5.3.1.10 Tolerance: The variation should be + least count of the Checkweigher or + 0.1% of the
standard weights used whichever is higher.
5.3.1.11 If the variation does not found within the limit. Put the “OUT OF CALIBRATION” label and
follow the step no. 5.6
5.3.1.12 Frequency: A) Daily in morning.
B) After the resuming of the power after power failure.
5.4 Full Scale Calibration
5.4.1 Check the cleanliness of the checkweigher.
5.4.2 Put ‘ON’ the checkweigher and wait till it displays 0.0 g.
5.4.3 Check the Zero error as per step No.5.2
5.4.4 Get the fractional weight box of standard weights.


.webp)


